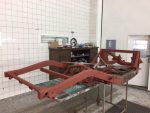
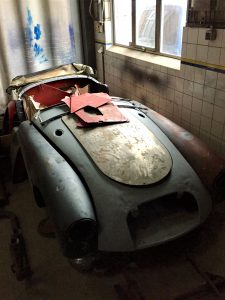
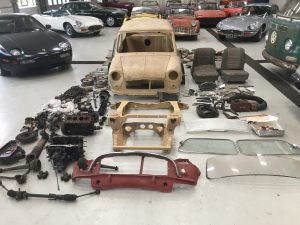
Having started the restoration of our 1960 MGA 1600 roadster, the first step is in restoring the MGA chassis frame. This was quite the challenge, as the chassis had suffered from severe corrosion, and various attempts to keep the rusting metal together. With a methodical approach and some perseverence, we saved this chassis from the scrapheap and turned it back to as-new condition.
Step 1: chassis preparation
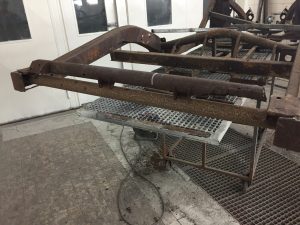
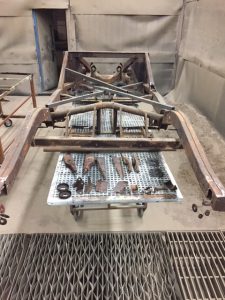
As this car had already been disassembled by the previous owner, it only required a couple of bolts to be removed. No surprise they had been stuck, after almost 60 years. WD40 and some heat solved the problem. Next, we welded an X-cross in place, using leftover pieces of square steel tubing. This serves to keep the structural integrity of the frame intact, before removing large sections of the side rails. Of course, before doing all this, we made sure that the frame’s dimensions were still intact. Luckily, there was no sign of bending or collision damage.
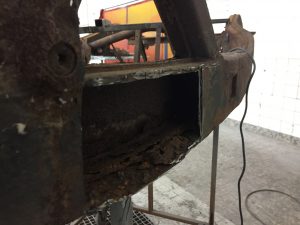
With the strengthening tubes now in place, sections of the frame side rails and the rotten round tube at the rear were cut out. This would allow us to actually clean out the inside of the chassis, as far as we could. Imagine a rusty piece of metal that is only shot blasted on one side – there will be a risk of further corrosion from the inside, especially when the inside metal is full of rust flakes.
Step 2: shot blasting
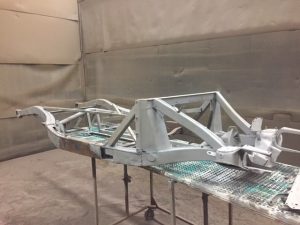
Everything now neatly prepared, it was time to get the MG chassis back to bare and clean metal. As we suspected, a lot of rust flakes came out of the inside of the side rails. All small bits and pieces belonging to the MGA frame were cleaned as one batch. Shortly after the media blasting, we applied a thin coat of red oxide primer (weld-through primer), to prevent the surface from rusting any time soon.
Step 3: welding the MGA chassis
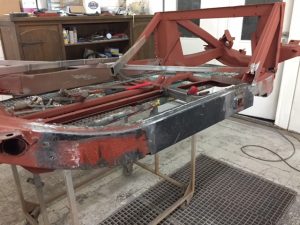
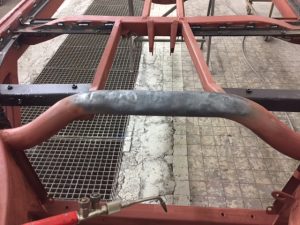
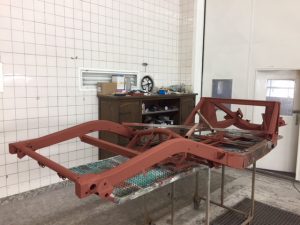 Time to turn the solid bits of metal back to a structurally strong MG chassis. We started by removing the square crossmembers and side rails (one side at the time, as to prevent the frame from bending). The crossmembers were fabricated in-house. For the side rails, we used reproduction repair pieces, and made the non-available sections ourselves. The round tube at the rear of the frame was replaced from side to side, including repair work to the end of the side rails. The front round tube had been severely dented, as this is actually the lowest part of an MGA chassis. This was resolved by installing an air valve and slowly heating up the tube, while putting the inside under pressure. Finally, new floorboard rails were welded in place.
Step 4: preparation and paint
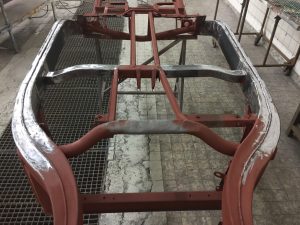
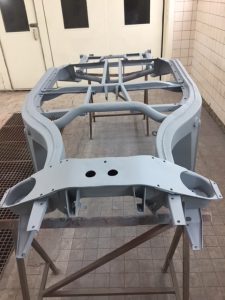
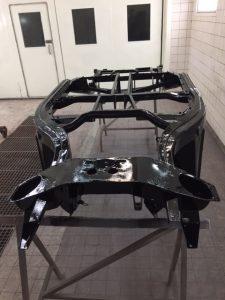
After grinding out the welds, it was time to prepare the chassis for the paint shop. Everything was sanded by hand and thoroughly cleaned. Next, it was sprayed in a protective 2K epoxy primer, after which some of the seams were sealed. Finally, the frame received a shiny new layer of 2K black paint, with a gloss finish.
Looking for a project car to restore?
Dandy Classics offers a collection of barn find british sports cars for restoration: MG, Triumph, Jaguar and other makes. Many of our customers enjoy the process of completely restoring their own dream car, slowly bringing it back to perfect condition. Are you considering to embark on an epic restoration project by yourself? Take a look at our collection of classic cars for sale.
Parts for your MGA
Spare parts for your MG and Triumph sports car can be ordered directly in our webshop. We have our own stock of service parts and offer fast and cost-efficient international shipping. Go to our webshop or contact us with your parts requirements.

